Information on using the Z-Wave Plus to Manage Z-Wave Associations
Overview
Associations are direct wireless links between Z-Wave devices. All modern devices include a group 1 “Lifeline” association which provides device status updates to the hub. Group 2 associations (if available) allow devices to control each other directly without requiring a hub automation. For example, a water sensor may control a water valve or a motion sensor may control a light switch with a group 2 association.
Steps
Adding an Association
In this example, we’ll add a group 2 association to Mark’s Office Light switch that will also control the Reception Overhead Light switch.
-
Navigate to Plugins > Z-Wave Plus > Manage Associations.
-
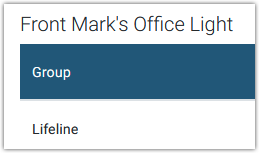
Use the menu to find and Select a Z-Wave Device and click CONTINUE. A list associations that have already been set for this device will display above. In this example, the Lifeline association has been set for Mark’s Office Light:
-
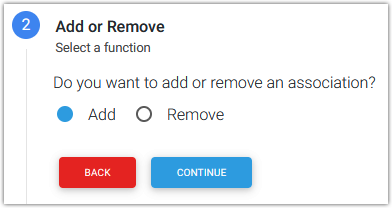
In the next step, make sure the Add option is selected and click CONTINUE.
-
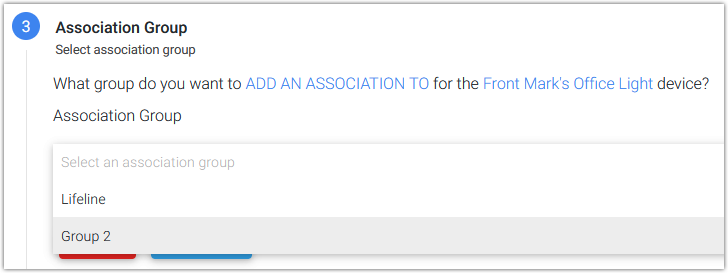
A list of available associations will display. Select Group 2 and click CONTINUE.
-
The device list will automatically appear. Find the device you wish to associate, check the box next to it and click CONTINUE.

-
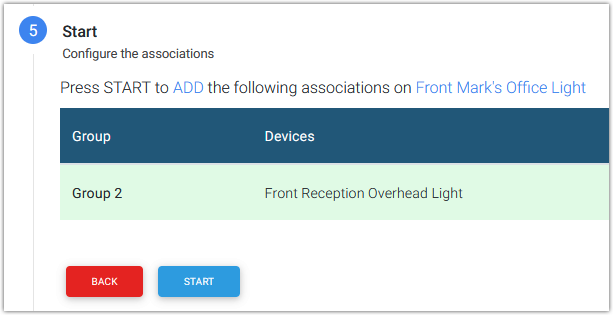
The Start step will display the details about the association. Click START to perform the association.
-
The Wait step will display details about the operation in progress. This may take a bit of time or may happen instantly.
-
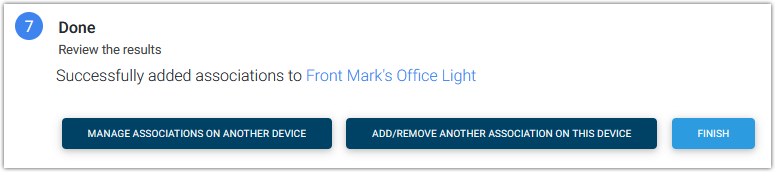
The Done step displays the completed status of the association. Buttons at the bottom perform this functions:
-
MANAGE ASSOCIATIONS ON ANOTHER DEVICE - Takes you back to step #2 above.
-
ADD/REMOVE ANOTHER ASSOCIATION ON THIS DEVICE - Takes you back to step #3 above for the same device.
-
FINISH - Loads the HS4 Devices page
-
Removing an Association
In this example, we’ll delete a group 2 association from Mark’s Office Light switch that will also control the Reception Overhead Light switch.
-
Navigate to Plugins > Z-Wave Plus > Manage Associations.
-
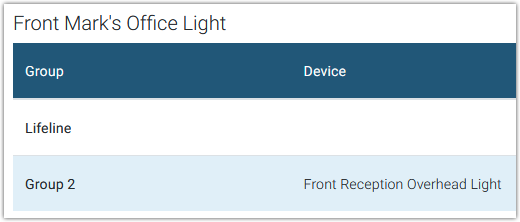
Use the menu to find and Select a Z-Wave Device and click CONTINUE. A list associations that have already been set for this device will display above. In this example, the Lifeline association and Group 2 association have been set for Mark’s Office Light:
-
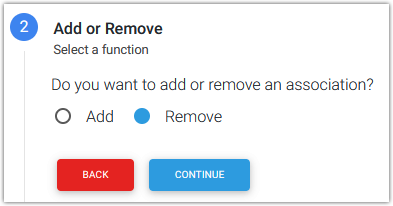
In the next step, make sure the Remove option is selected and click CONTINUE.
-
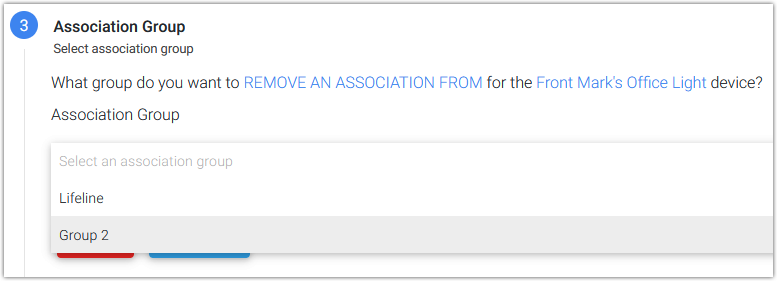
A list of available associations will display. Select Group 2 and click CONTINUE.
-
A list of associated devices will display. Check the box for the device(s) you wish to remove the association for, then click outside of this box and click CONTINUE.
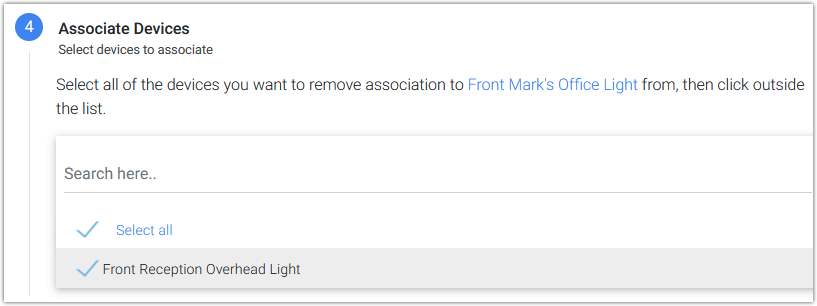
-
The Start step will display the details about the association. Click START to perform the association removal.
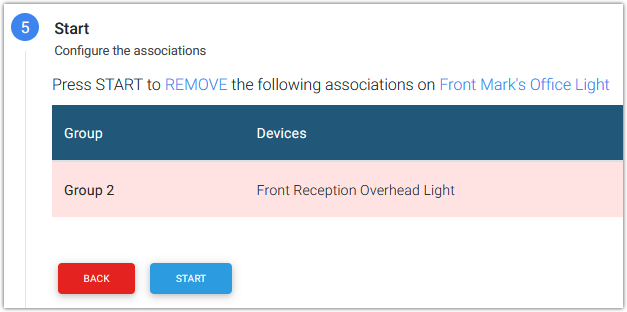
-
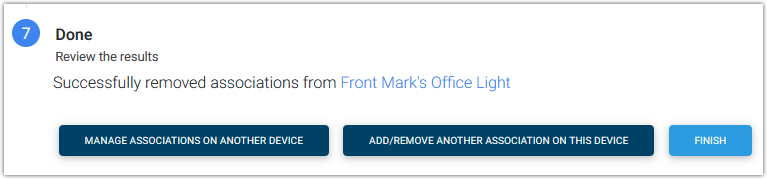
The Done step displays the completed status of the association. Buttons at the bottom perform this functions:
-
MANAGE ASSOCIATIONS ON ANOTHER DEVICE - Takes you back to step #2 above.
-
ADD/REMOVE ANOTHER ASSOCIATION ON THIS DEVICE - Takes you back to step #3 above for the same device.
-
FINISH - Loads the HS4 Devices page
-