SP100 User Guide
Installation and setup for HS-SP100 WiFi smart plug

Overview
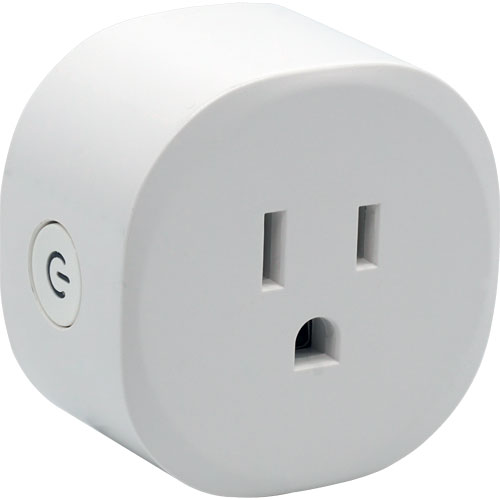
HS-SP100 is a WiFi smart plug which may be used to remotely power plugged in devices using WiFi commands. The unit is compatible with any smart home platform that supports Tuya-compatible smart devices and it may be controlled with Alexa and Google Home products as well
Installation
HS-SP100 is designed to be plugged into any US style 120V AC outlet or extension cord (rated for at least 10A). Install it near the appliance you wish to remotely power. After it’s plugged in, HS-SP100 will need to be added to your WiFi network using the TuyaSmart app. Once that’s done, you’ll be able to add it to your smart home platform.
Install Tuya Smart App
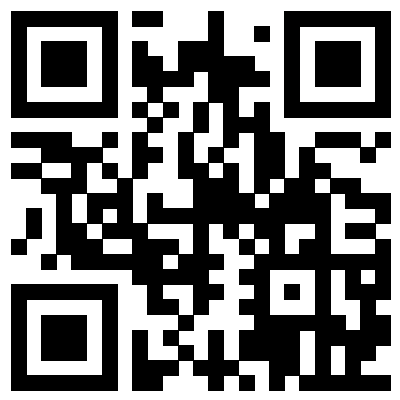
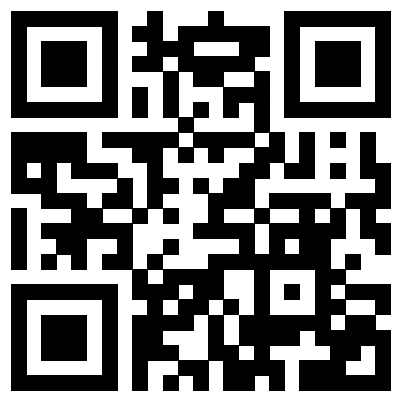
Use the QR codes or links below to install the Tuya Smart app onto your mobile device.
Add Smart Plug to your WiFi Network
Use the steps below to add your Smart Plug to your WiFi network.
- Enable BlueTooth on your mobile device.
- Launch the TuyaSmart app and click the Add Device button.
- Locate and tap the Socket (WiFi) device.
- Select your 2.4 GHz network, enter your WiFi password and click Next.
- Power on your Smart Plug after it has been powered off for at least 10 seconds. Click Next.
- Press and hold the power button on the Smart Plug until the button blinks (about 5s). Click Next.
- Make sure the power button is blinking rapidly. Tap the radio button next to “Confirm that the button is blinking rapidly” and click Next.
- At this point, the app should add the WiFi credentials to the Smart Plug which will add it to your WiFi network. The process can take up to 2 minutes.
Note: if this step fails, move the Smart Plug closer to your router and try again. - Test your Smart Plug by pressing its power button in the app. If successful, the power button will change color and you may notice a “click” sound from the Smart Plug.
Add Smart Plug to your Smart Home Platform
Smart Plug may be controlled with a variety of smart home hubs, software systems and smart speakers. Follow the steps below for the platform you wish to use.
HomeSeer (HS4 Software, HomeTrollers)
- Launch your HomeSeer system. Then install and enable our Tuya plugin.
- Navigate to the Tuya plugin menu and select Authorize. This will link the plugin with your Tuya account using the credentials you used to establish your Tuya account.
- Navigate to the Tuya plugin menu and select Manage Devices. You should now see a list of all the Tuya devices that have been added to the TuyaSmart app. If not, click the READ TUYA DEVICES button.
- Now, use the check boxes to select all devices and click the CREATE HOMSEER DEVICES button to create HomeSeer devices for all Smart Plugs (and other Tuya compatible products).
By default, each Smart Plug HomeSeer device will include a switch feature for on/off control and additional features that track information for the Smart Plug’s state, current, power and voltage.
Note: HomeSeer systems support Alexa and Google Home integration natively. If you’re using HomeSeer, you can disregard the next section.
Alexa or Google Home (for Non-HomeSeer systems)
- In the TuyaSmart app, choose the Smart Plug device and click the Edit button.
- In the Third Party Control section, click Alexa or Google Assistant. In either case, you’ll be prompted to sign into your Alexa or Google Home account. This will link these accounts to your TuyaSmart account will enable device discovery or linking.
Non-HomeSeer Systems
If you’re using a non-HomeSeer platform, follow the procedure that’s necessary for adding Tuya-compatible devices to your system.
Specifications
| Nominal Input Voltage | 120V AC |
|---|---|
| Rated Current | 10A Max |
| WiFi Frequency | 2.412 - 2.484 GHz |
| Network Protocol | 802.11 b/g/n |
| Working Temperature | (-)10 to (+)40 C |
| Dimensions | 52mm x 52mm |


