This document outlines the steps needed to use HS4 with the popular Node-Red programming tool. With the HS4 node you can connect HomeSeer with over 2700 other applications.
Known issues with Node-Red release 1.0.2
-
Currently, Node-Red is not passing a user/pass to HomeSeer when it issues a request for data. This will result in the inability to get device information (the device list will be empty or some devices will be missing). The solution is to make sure the option "No password required for local subnet" is checked in Setup and do not assign any users to your devices.
Step-by-step guide
Setting up Node-Red
If you are new to Node-Red, please visit the Node-Red site for help installing Node-Red on a Windows system, Linux, or Raspberry PI.
https://nodered.org/
Added HomeSeer support to Node-Red
Visit the Node-Red flows site for instructions on how to add HomeSeer HS4 support to your Node-Red installation:
https://flows.nodered.org/node/node-red-contrib-homeseer
Setup HomeSeer
-
HS4 version 4.1.3.0 or later is required
-
In HS4 select Setup then the Custom tab
-
On that tab look for the Web Hooks section
-
From there, add the following URL to the Web Hooks list:
http://NODE-RED-IP:1880/homeseer/webhook -
The "NODE-RED-IP" is the IP address of the system running Node-Red
-
Save the page
Testing the Installation
-
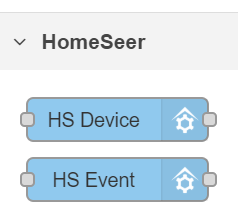
On your Node-Red system refresh the page and look for the HomeSeer flows in the palette on the left:
-
Drag the "HS Device" to the page and double click on it.
-
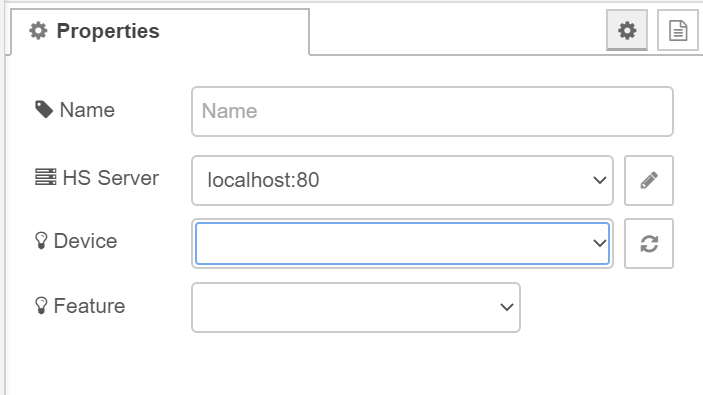
You will need to add the HS4 server as server, click the pencil icon to edit the server list. Add the IP address of your HS4 system. If HS4 is running on your Node-Red system, you can enter localhost and port 80.
-
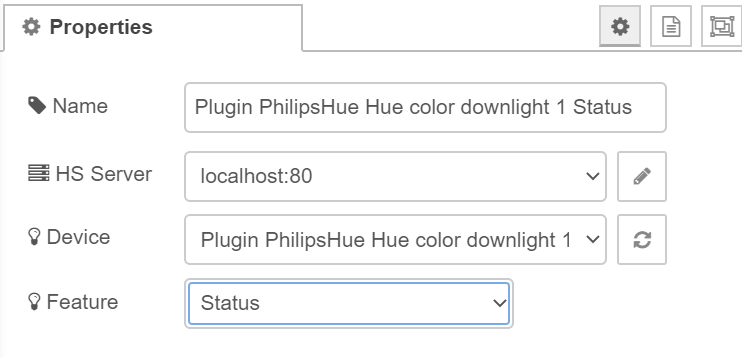
Select a device that you can easily control from the "Device" drop list. Select the feature if available.
-
Select "Deploy" at the top of the page to save and activate your changes.
-
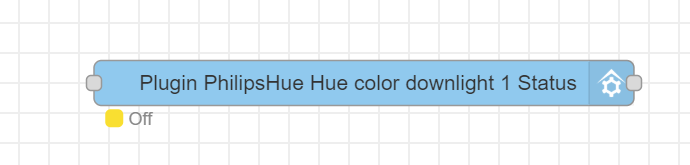
Now from the HS4 interface turn your device ON and OFF. You should see an indicator change on the device you just added.
-
If the indicator changes, you are all set!
What you can do with HomeSeer
-
Create logic based on the status of a device
-
Control a device
-
Trigger an event
Here is a simple flow setup that shows how to control a device and an event:
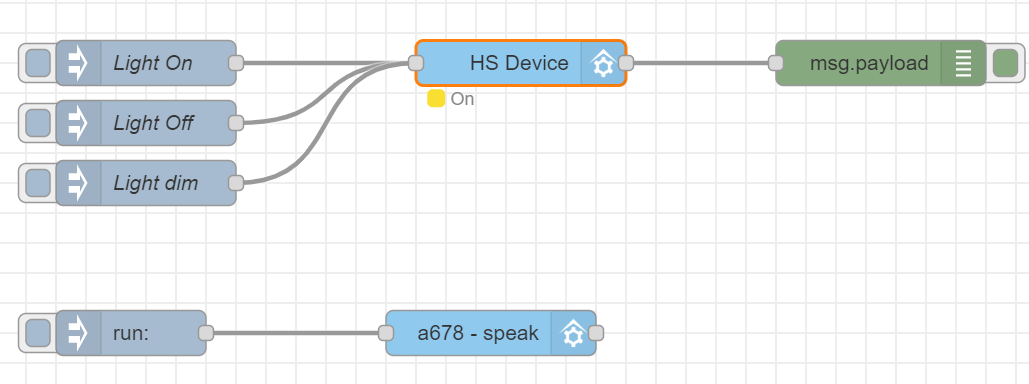
To control a device, set the payload to the value you want to set. You can get the supported device values from the Status/Graphics tab in the device properties. In this sample, the value 255 turns the device ON.

To control an events, select the event from the drop list:
