Use this guide for migrating from a 500 or 700 series Z-Wave interface to an 800 series interface (SmartStick G8, Z-NET G8 or Z-NET PRO)

The procedure outlined below has been deprecated in favor of a newer procedure in 800 Series Controller Migration Guide (SmartStick or Z-NET)
Overview
Users who wish to migrate or upgrade from their existing interface to an 800 series interface can easily accomplish this, but care must be exercised to avoid damaging (“bricking”) the interface. Follow the steps below to ensure the best outcome. Note: The terms “interface” and “controller” refer to the same thing and are used interchangeably.
Migrations should ONLY be performed under these conditions:
-
HomeSeer users must use Z-Wave Plus plugin (version listed below)
-
Home Assistant users must use Z-Wave JS UI (type and version listed below)
-
DO NOT use the Z-Wave PC Controller app OR ANY OTHER METHOD to perform a migration. That may render the 800 series controller unusable and void its warranty.
Requirements
For HomeSeer Users
-
HS4 Version: 4.2.19.16 or later
-
Z-Wave Plus plugin v1.0.0.0 or later
For Home Assistant Users
Home Assistant has two Z-Wave add-ons, the (official) Z-Wave JS addon, and the community add-on for Z-Wave JS UI. Only the latter supports NVM backup and restore. Users can also run Z-Wave JS UI standalone (e.g. in Docker) as an alternative to using the community add-on, or entirely separate from Home Assistant.
-
Z-Wave JS UI (either version listed below)
-
Standalone Z-Wave JS UI v9.9.0 (or later)
-
HA Community Add-on v3.4.0 (or later)
-
Considerations
While data from any 700 series Z-Wave interface can be directly transferred to an 800 series interface, this is not the case for all 500 series interfaces. Due to changes in the Z-Wave SDK, 500-series interfaces running SDK versions lower than 6.61 cannot create backups that are compatible with 800-series interfaces.
The problem
-
500-series interfaces running SDK versions lower than 6.61 can only create and accept
.nodesbackup files in HS4. This is a proprietary backup file that can be created using the v4 Z-Wave plugin in HS4. -
800-series interfaces create and accept only
.binbackup files. This backup file format is used in Z-Wave Plus in HS4 and Z-Wave JS UI in Home Assistant. -
These file types are not interchangeable.
The Solution
Use a bridge Interface. 500-series interfaces running SDK version 6.61 or higher support both .nodes and .bin formats.
If you are using an older Z-Net or HomeTroller Zee S2, you can purchase a HomeSeer 500 Series Upgrade Kit (EZZeeUS Rev E) from our store to use as the bridge. Follow the instructions in the user guides below to upgrade your hardware.
500 Series Upgrade Kit for Z-NET or HomeTroller
After completing the steps in this guide, you can complete the migration to the Smartstick G8, Z-Net G8 or Z-NET PRO by following the instructions at the bottom of this guide, starting at step 7.
If you are using a USB interface, you will need to source a 500 series interface running SDK version 6.61 or higher, or a 700 series interface to act as a bridge. Once acquired, follow the instructions at the bottom of this guide starting at step 1.
How do I check my SDK version?
Below is a table with the SDK versions of interfaces that have been sold by HomeSeer in the past.
If your interface is not in this list, you can use the software to obtain the information.
HomeSeer users:
-
Using the v4 Z-Wave plugin: Navigate to Plugins > Z-Wave > Device Information and check the Firmware Version for node #1. The SDK is not displayed in this plugin. Use the FW version and find the SDK using the list below.
-
Using the Z-Wave Plus plugin: Navigate to Plugins > Z-Wave Plus > Z-Wave JS Front-End and check the FW column for node #1 in the Control Panel. The SDK will display there. (Z-Wave JS Front End can be enabled under Plugins > Z-Wave Plus > Settings > Your Network Name)
Home Assistant users:
-
Open the ZWave JS UI and check the FW column for node #1 in the Control Panel. The SDK will display there.
|
500 series interface version information |
|||
|---|---|---|---|
|
Name |
Firmware Version |
Z-Wave SDK Version |
Image (Click to enlarge) |
|
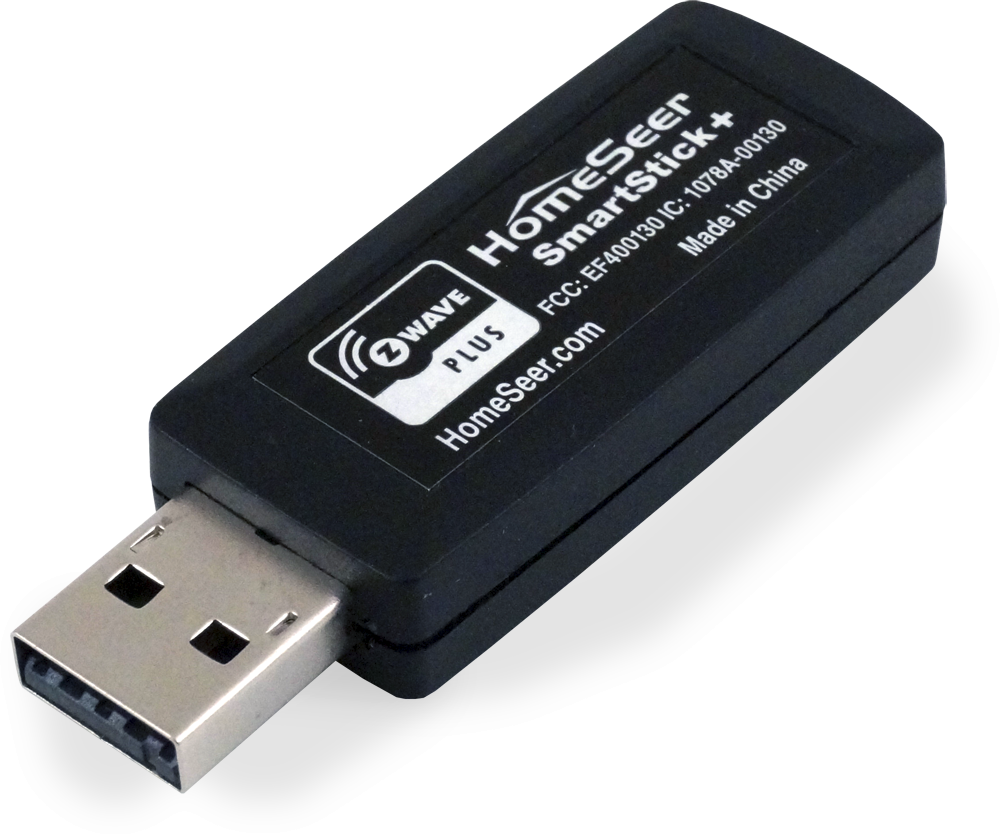
SmartStick+ (HUSBZ-2) |
FW: v4.32 |
SDK: v6.51.6 |
|
|
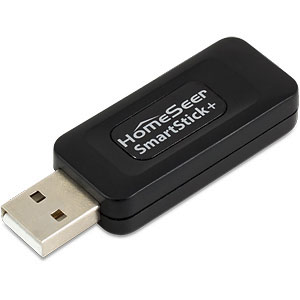
SmartStick+ G2 (SA413-2) |
FW: v6.01 |
SDK: v6.81.1 |
|
|
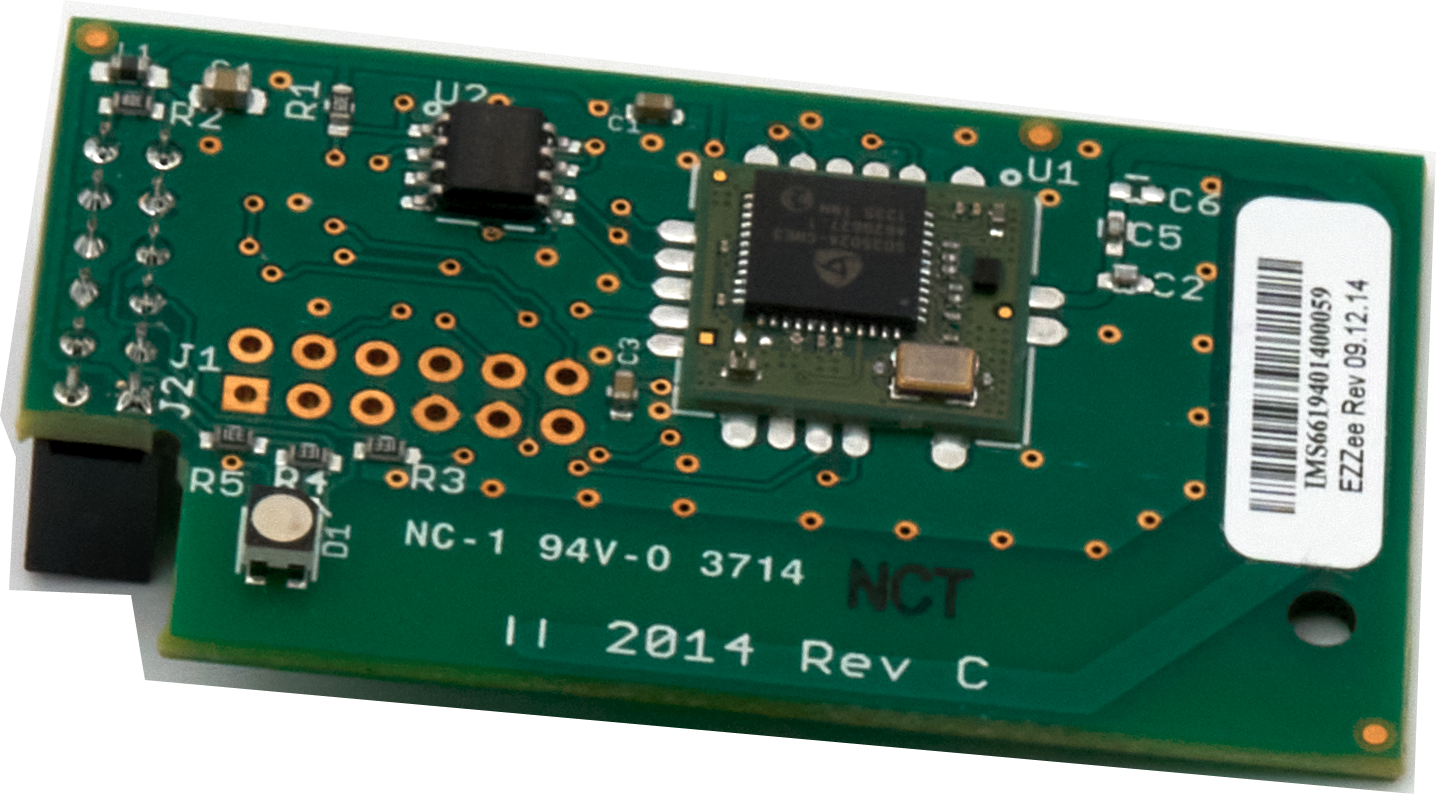
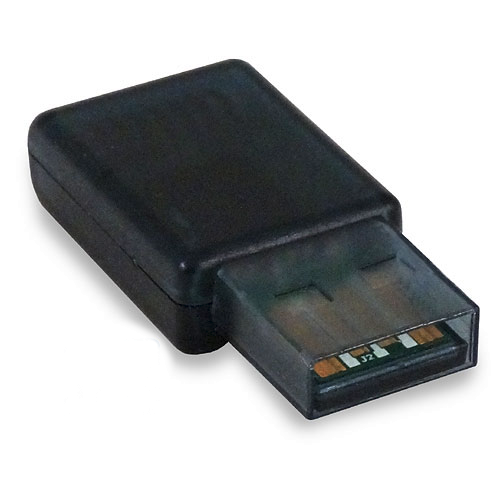
Z-Net/HomeTroller Zee S2 (EZZeeUS Rev C, D or E with barcode sticker) |
FW: v4.31 or v4.32 |
SDK: v6.51.6 |
|
|
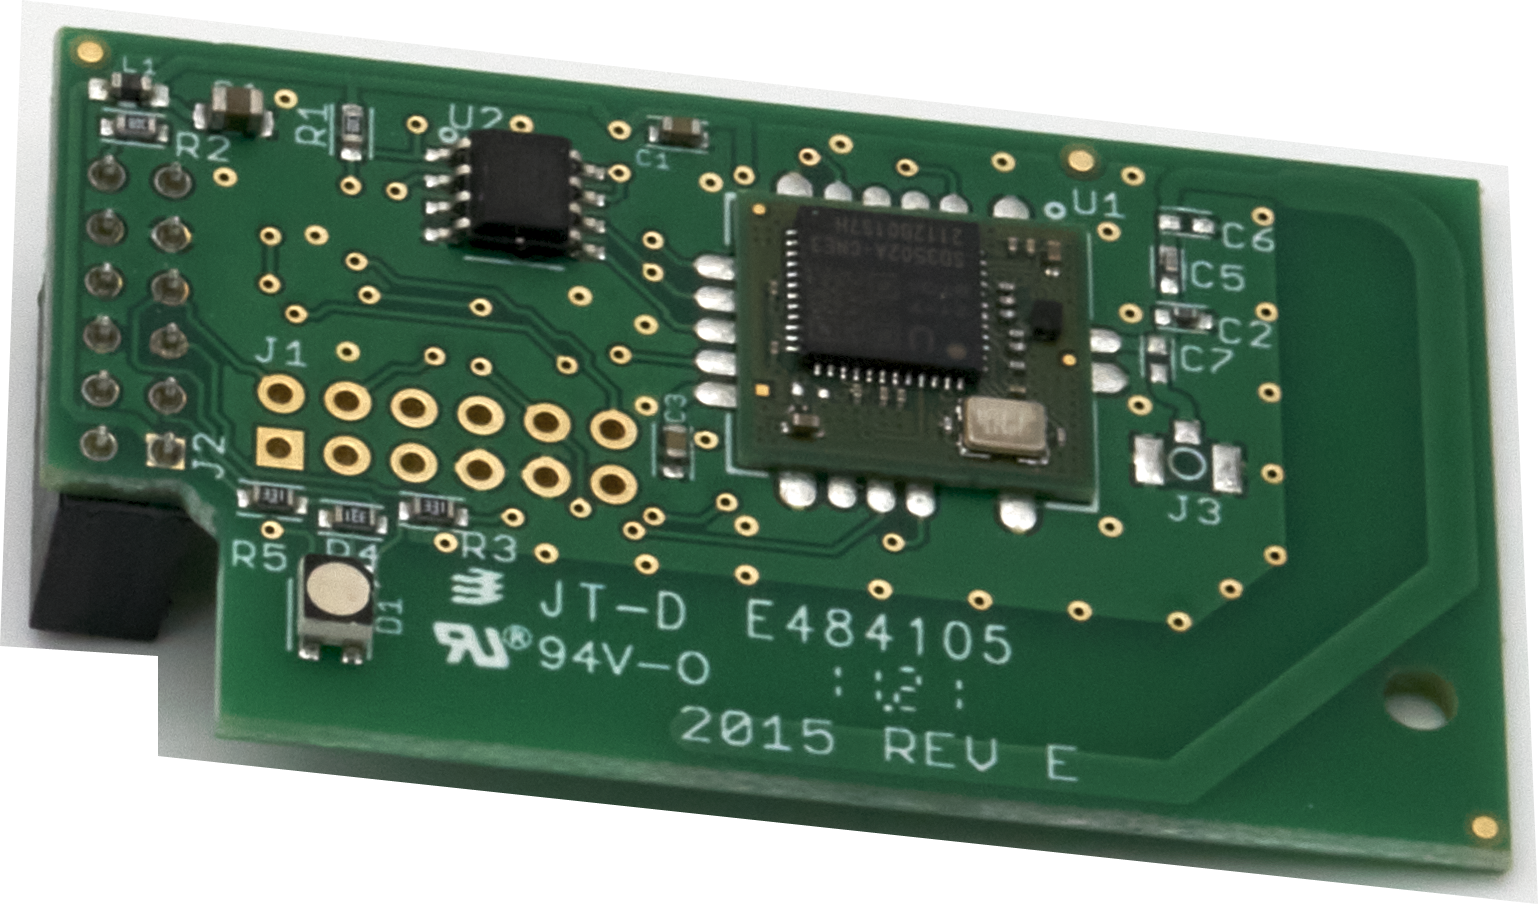
Z-Net/HomeTroller Zee S2 (EZZeeUS Rev E) |
FW: v2.8 |
SDK: v6.81.1 |
|
|
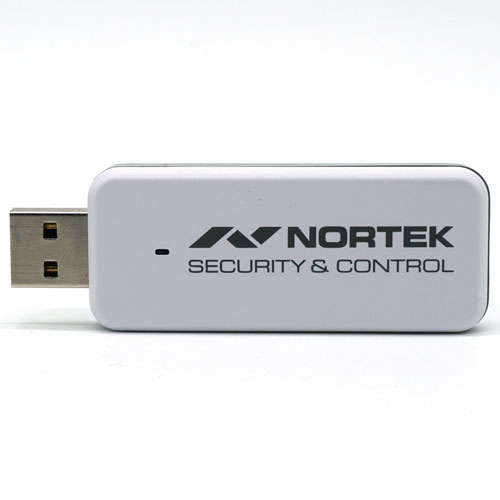
Nortek HUSBZB-1 |
FW: v4.32 |
SDK: v6.51.6 |
|
|
Z-Wave.Me UZB |
FW: v5.5 |
SDK: v6.51.6 |
|
The Rev version of the interface on the Z-Net and HomeTroller Zee S2 is printed on the Z-Wave HAT (Hardware Attached on Top). The hardware will need to be disassembled to see this information.
Steps
On a HomeSeer system
Steps 1-7 are for users migrating from older 500 series controllers (with SDK version lower than 6.61). If your existing controller is running version 6.61 or higher, skip to step 7.
-
Ensure that the HomeSeer V4 Z-Wave plugin is installed and enabled for your older Z-Wave controller.
-
Navigate to Plugins > Z-Wave > Advanced Functions and select Backup Interface. Take note of the file name (or rename it if you like) and start the backup.
-
Remove the older controller and install a newer 500 or 700 series controller (with SDK version 6.61-7.20). Navigate to Plugins > Z-Wave > Manage Interfaces, disable and delete the existing interface, then add a new interface to connect to your newer controller.
-
Disable, then Enable the V4 plugin to initialize the newer controller.
-
Navigate to Plugins > Z-Wave > Advanced Functions and select Restore Interface from Backup. Select the backup file that was created in step 2 above and click START. Wait for this process to finish.
-
Disable the V4 plugin and enable the Z-Wave Plus plugin. Follow the steps in the next section to migrate from the newer 500 or 700 series controller to the 800 series controller.
The following steps are for users migrating from newer 500 series controllers or 700 series controllers (with SDK version 6.61 or higher).
-
Ensure that your existing 500 or 700 series Z-Wave controller is connected to your system and working with the Z-Wave Plus plugin. If you’re new to the Z-Wave Plus plugin and have not already set it up, see Setting Up the Z-Wave Plus Plugin
-
Navigate to Plugins > Z-Wave Plus > Advanced Functions and select Backup Interface. Go through the steps to create your backup file and save it. Remember the name of this file; you’ll need it soon!
-
Remove the existing 500 or 700 series Z-Wave controller from your system.
-
Connect the 800 series controller to your system using the steps in Setting Up the Z-Wave Plus Plugin
-
Navigate to Plugins > Z-Wave Plus > Advanced Functions and select Restore Interface. Go through the steps to restore the backup file to your 800 series controller. Wait for this process to finish.
-
Navigate to Plugins > Manage and restart the Z-Wave Plus plugin by disabling and then enabling it. If the migration was successful, you should now be able to monitor and control your Z-Wave devices.
On a Home Assistant system
These instructions may change over time. Be sure to check the official Home Assistant documentation for the most up to date information.
-
Ensure that your existing Z-Wave controller is attached to your system and working with the Z-Wave JS UI (version 9.9.0 or later) app.
-
Open the Z-Wave JS UI Control Panel, click the round blue hamburger menu button and select Advanced actions.
-
Find the NVM Management action, click the BACKUP button and click OK to begin the backup. This may take a few minutes to complete. When finished, an NVM_<date>.bin backup file will be generated and saved in your store directory or downloads folder.

-
Remove the existing Z-Wave controller from your system.
-
Connect the SmartStick G8 to your system and configure its path in the Z-Wave JS UI settings.
-
Open the NVM Management action again, click the RESTORE button, select the NVM_<date>.bin backup file you created in Step 3 and click OK. This will initiate the restore process. A notification will appear when the process is complete. If the migration was successful, you should now be able to monitor and control your Z-Wave devices.