Use this guide to upgrade any Z-Wave 500 or 700 series Z-NET to 800 series.
Overview
Users of previous model Z-NETs now have two options to upgrade to the latest 800 series Z-Wave technology:
-
Option 1: Buy a new Z-NET G8 and then follow this: 800 Series Controller Migration Guide (SmartStick or Z-NET) (the EASY option)
-
Option 2: Upgrade your existing unit with the new 800 series kit and then follow this: 800 Series Controller Migration Guide (SmartStick or Z-NET) (the LESS EASY option)
In this guide, we’ll focus on option 2 with the steps required to upgrade your unit.
800 Series Upgrade Kit Installation
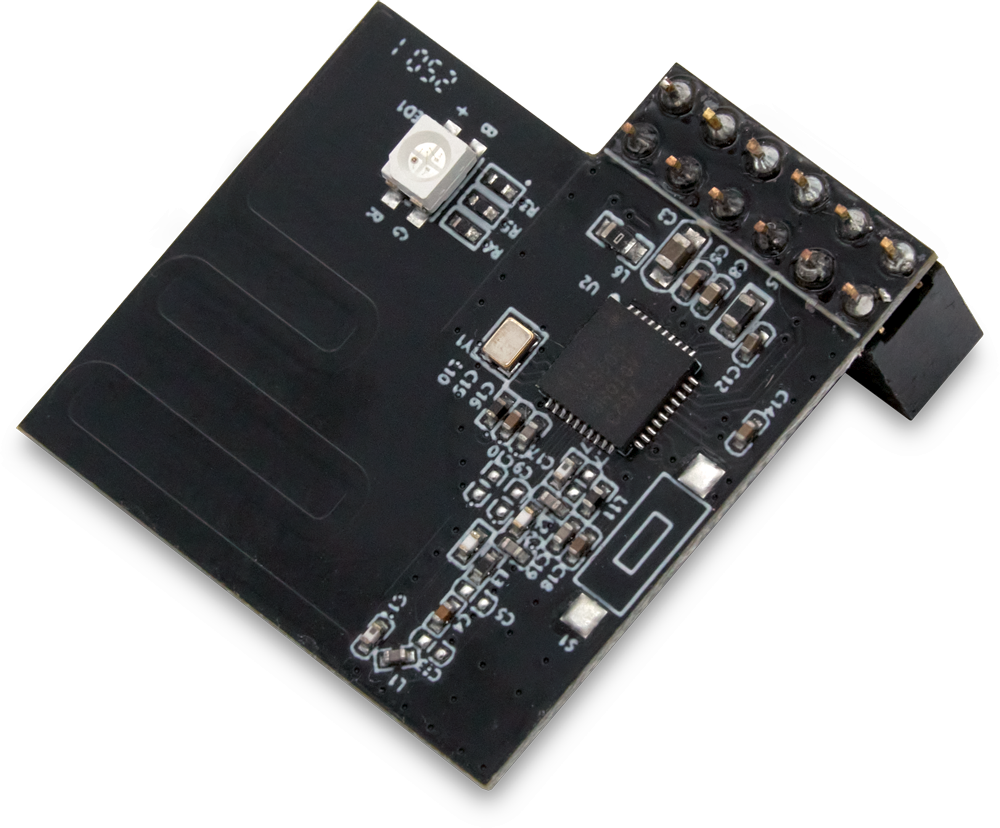
The 800 series upgrade kit includes a Z-Wave 800 series controller module on a Raspberry Pi style HAT (“Hardware Attached on Top”). This HAT will replace the existing 500 series HAT (in the original Z-NET) or 700 series HAT (in the Z-NET G3).
Follow these steps to upgrade your Z-NET
-
Before installing the HAT, you’ll need to backup your Z-NET using the Z-Wave Plus plugin (HomeSeer) or ZWave JS UI (Home Assistant). You’ll be restoring this backup to your new HAT after you finish the physical installation. For more information, see this: Upgrading Z-NET or Z-NET G3 to 800 Series Z-Wave.
DO NOT SKIP THIS STEP unless you intend to create a new Z-Wave network from scratch. -
Disconnect your Z-NET from the power adapter and network cable (if using Ethernet)
-
Using a very small Phillips head screwdriver, remove the 4 bolts holding the enclosure together. One of these bolts is only threaded about 1/4” into the enclosure. This is normal.
-
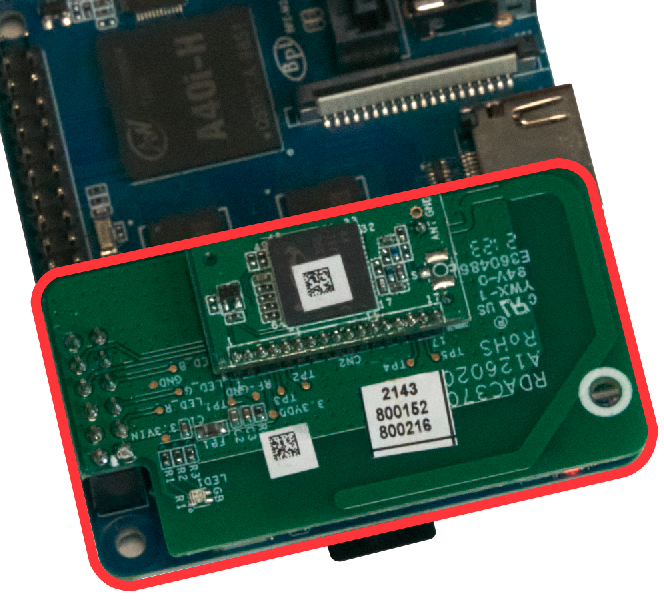
Open the enclosure and remove the main motherboard. Locate the existing HAT. It will be green colored with a press-fit connector attached to the GPIO pins on the left side of the mother board (as show below).
-
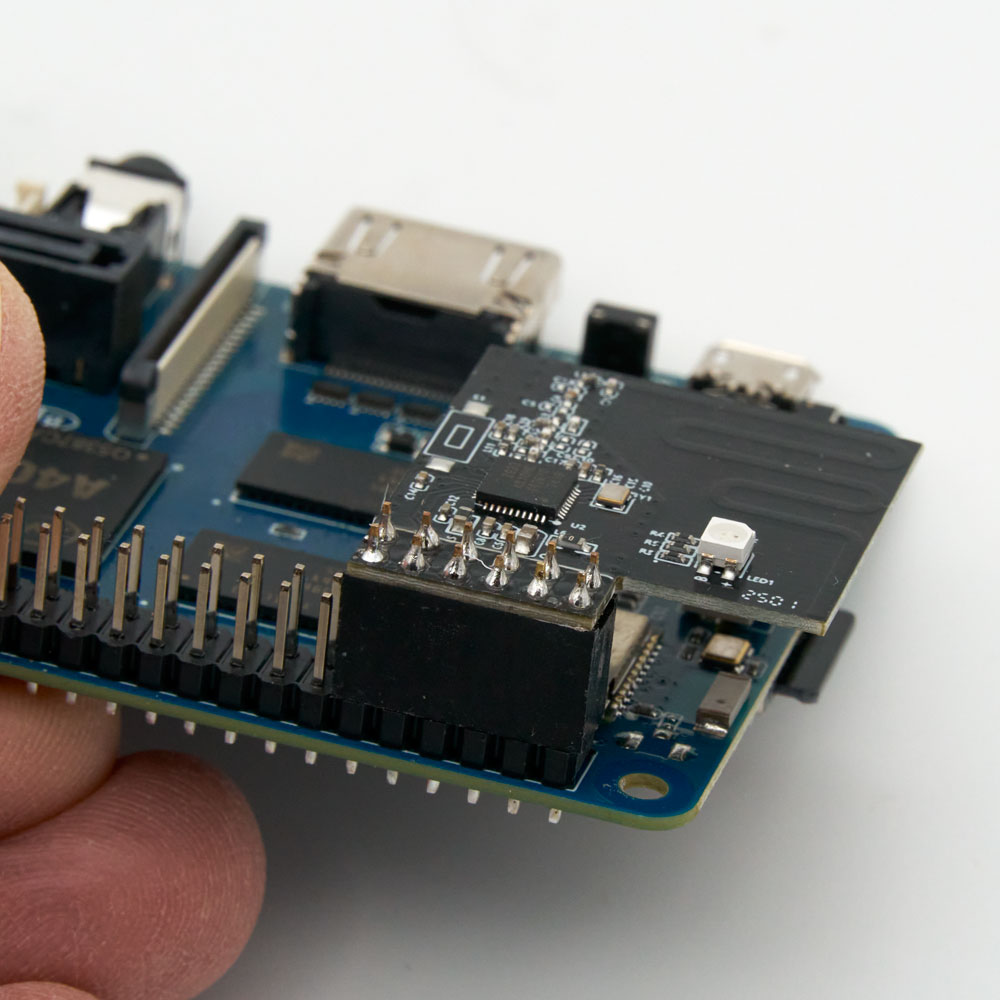
Grip the motherboard firmly and gently pull the HAT upward so that it comes off the pins. It may be necessary to rock it back and forth as you do this. Be careful not to bend the pins.
-
Now install the 800 series HAT by pressing it onto the same GPIO pins that were used for the older HAT
-
An optional spacer was added to the 800 upgrade kit in Nov 2025. If you have this spacer, refer to the 800 Upgrade Kit Spacer Installation guide for instructions.
-
Reassemble the Z-NET
-
Follow the instructions in 800 Series Controller Migration Guide (SmartStick or Z-NET) for restoring your Z-NET backup to the newly upgraded Z-NET 800.
Video Overview of HAT Installation