Information on setting up and managing cloud backups of your HomeSeer system.
Overview
MyHS Premium allows for your HS4 system(s) to upload backups to the cloud so that you always have a recent backup, even if something happens to your hardware or storage. You will need to configure cloud backups both on the MyHS web page and within the HS4 web interface, please see the instructions below for both.
Configuring Cloud Backups in MyHS
-
Visit
myhs.homeseer.com
, enter your account credentials and click Log In.
-
While viewing the account dashboard, click Manage in the Backups section. Depending on the level of MyHS Premium you are subscribed to, you will have options for what time or day your backups will be uploaded to MyHS.
Configuring Cloud Backups in HS4
-
Connect to your HS4 system from MyHS or find.homeseer.com.
-
Navigate to Tools > Backup/Restore.
-
In the Cloud section at the bottom of this page, check the Auto Cloud Backup option. You are all set!
Managing Cloud Backups
-
Once your cloud backups are configured and created, you can see them by visiting myhs.homeseer.com, entering your credentials, then clicking Log in.
-
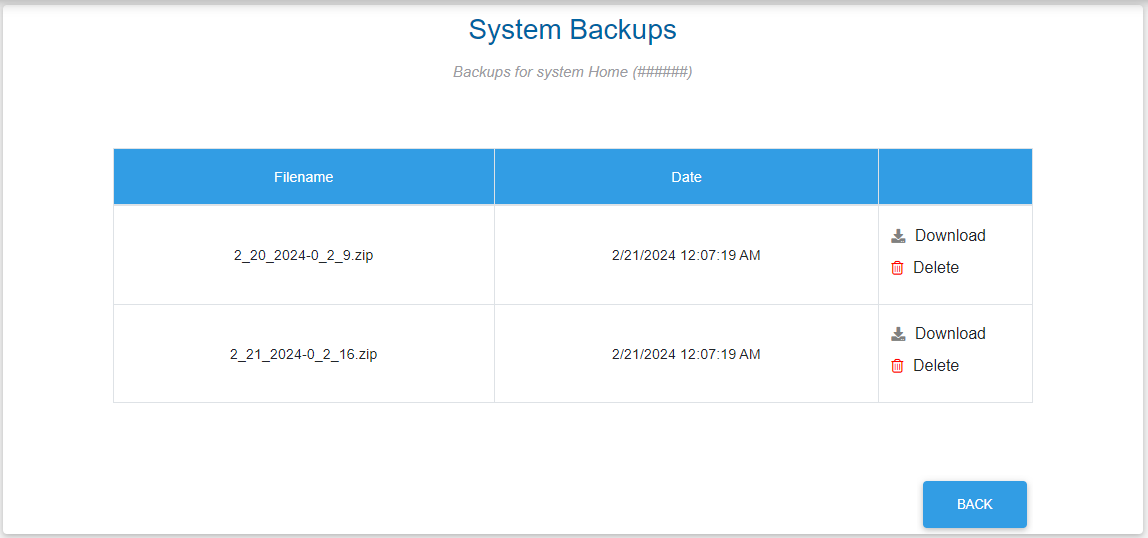
Click Manage in the Backups section and you will be shown a list of your systems which have backups available. Click the name of one of your systems and a date selector will appear below. Select a date when a backup was uploaded, then click OK.
-
Downloading a backup will save it to the computer you are using to view the MyHS web page with. Please see our guide on How to Restore a Backup for information on restoring it to HS4.
For information on managing local backups, visit our Backup/Restore section