Step by step guide for setting up Home Assistant to work with Z-NET.
Overview
Z-NET is a network connected Z-Wave controller that's designed to be installed in locations where a comparable USB dongle could not be installed. The unit is ideal for use with outbuildings or locations that would normally be out of range of the associated hub.
Installation
-
Unpack the Z-NET, AC power supply.
-
Connect an Ethernet cable to the unit and attach the other end to your router or network switch. For WiFi setup, see Z-NET Quick Start Guide
-
Connect the AC power supply to the unit and plug it in. The unit will power on by itself and the LED on the top of the unit will blink red for approximately 20 seconds and then glow red once the unit has finished booting.
-
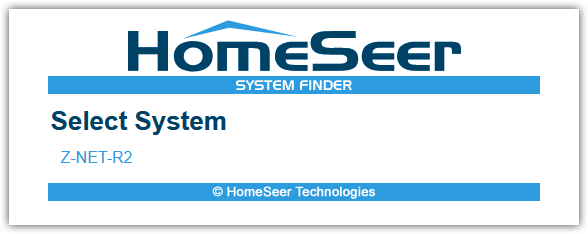
Navigate to find.homeseer.com to access the system finder. You should see a link displayed for your Z-NET (see example below). If you don’t see the Z-NET link, wait for a few minutes and refresh your browser.
-
Click this link and note the IP address that appears in your URL field. You'll need this for the settings below.
example: http://192.168.2.204/Main/Net.php
By default, Z-NET is configured to work with DHCP and will obtain its IP address from your router. While it's possible to set a static IP address on the Z-NET settings page, we strongly recommend that you leave this set to DHCP and use a router address reservation to set a static IP address instead. This will make it easier to access the Z-NET if you change routers.
Z-Wave Setup
-
Navigate to Settings > Add-ons, then install and START Z-Wave JS UI.
-
Click the OPEN WEB UI button at the bottom of the Z-Wave JS UI widget. This will open the Z-Wave JS UI Control Panel.
-
Click on the settings icon on the left and then expand the Z-Wave section.In the Serial Port field, enter the IP address and port number of the Z-NET (2001).example: tcp://192.168.2.204:2001Create security keys (or enter your existing security keys) for these fields: S2 Unauthenticated, S2 Authenticated, S2 Access Control and S0 Legacy.
-
Click “Save” at the bottom of the screen. Watch for the success message:

-
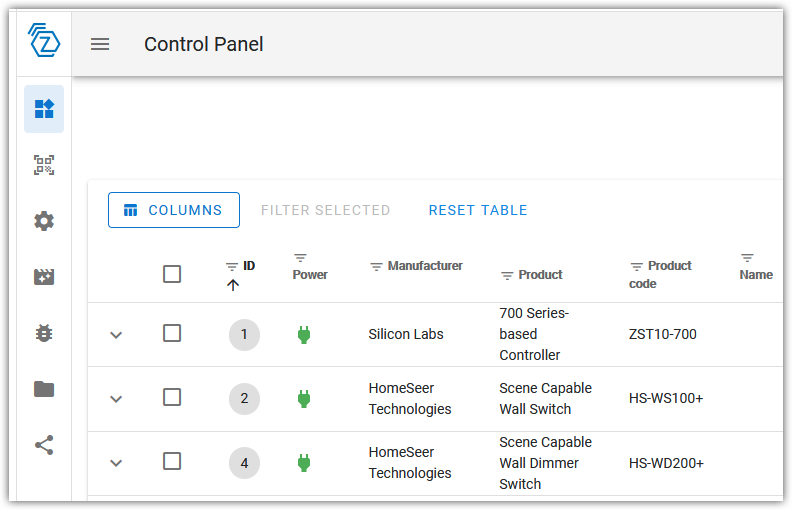
If it connects successfully, you can add/manage your Z-Wave devices from here, click on the first icon on the left.
-
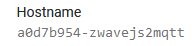
At this point the integration needs to be linked to Home Assistant. To accomplish this, navigate back to the JS UI add-on page and note the Hostname that is listed, it will be something like this:
-
Navigate to Settings > Devices & Services, then click the ADD INTEGRATION button and select Z-Wave.
-
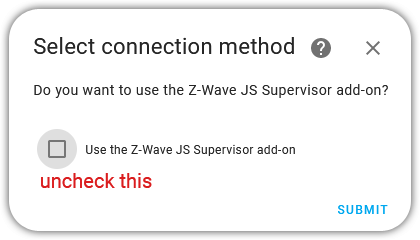
On the Select connection method pop-up, uncheck the option to Use the Z-Wave JS Supervisor add-on. Then click SUBMIT.
-
The next screen will ask for the web socket connection to the running Z-Wave JS UI add on, enter the Hostname (from previous step above) in this format:
ws://a0d7b954-zwavejs2mqtt:3000 -
You should now get a Success! message and any devices found will appear in this screen:
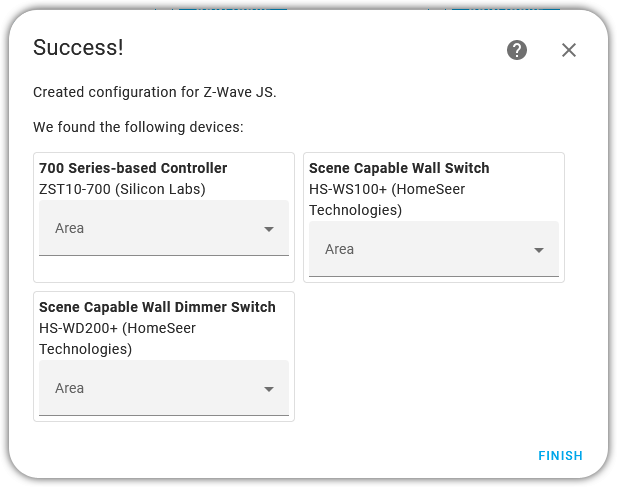
Congratulations! Your Home Assistant system can now control and manage your Z-Wave network with Z-NET.
Zigbee Setup
Z-NET has been configured to work with the Sonoff ZBDongle-E Zigbee coordinator and the steps below are specific to this stick.
-
Update your Z-NET to v1.0.25 (or later) using the steps in this guide: Updating the Z-NET
-
Attached a Sonoff ZBDongle-E Zigbee coordinator to a USB port on your Z-NET.
-
Navigate to Settings > Devices & Services, then click the ADD INTEGRATION button.
-
Enter Zigbee in the search box and select Zigbee Home Automation > Zigbee Home Automation.
-
On the Select a Serial Port screen, select Enter Manually and click SUBMIT.
-
On the Radio Type screen, select your Zigbee radio type. For the Sonoff ZBDongle-E, choose EZSP, then click SUBMIT.
-
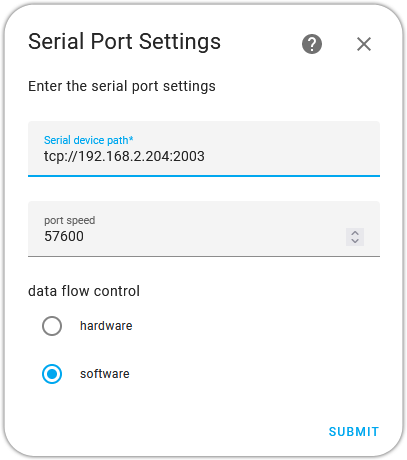
On the Serial Port Settings screen, enter the TCP/IP address of your Z-NET followed by port number 2003 using the format below and click SUBMIT. (note, port 2003 translates to /dev/ttyACM0 but some dongles may use /dev/ttyUSB0 so if port 2003 does not work try port 2002 as that port translates to /dev/ttyUSB0)
-
On the Network Formation screen, click Keep radio network settings and wait for the process to complete. When finished, you'll see the Success! screen.
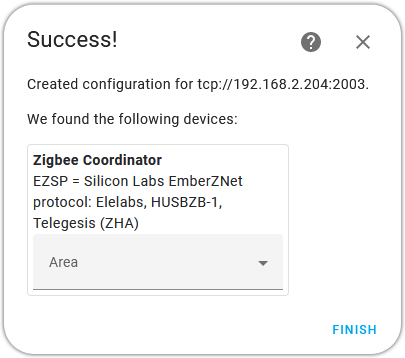
Congratulations! Your Home Assistant system can now control and manage your Zigbee network with Z-NET.