Use this guide to install the WS300 and to include it in your Z-Wave network.
Overview
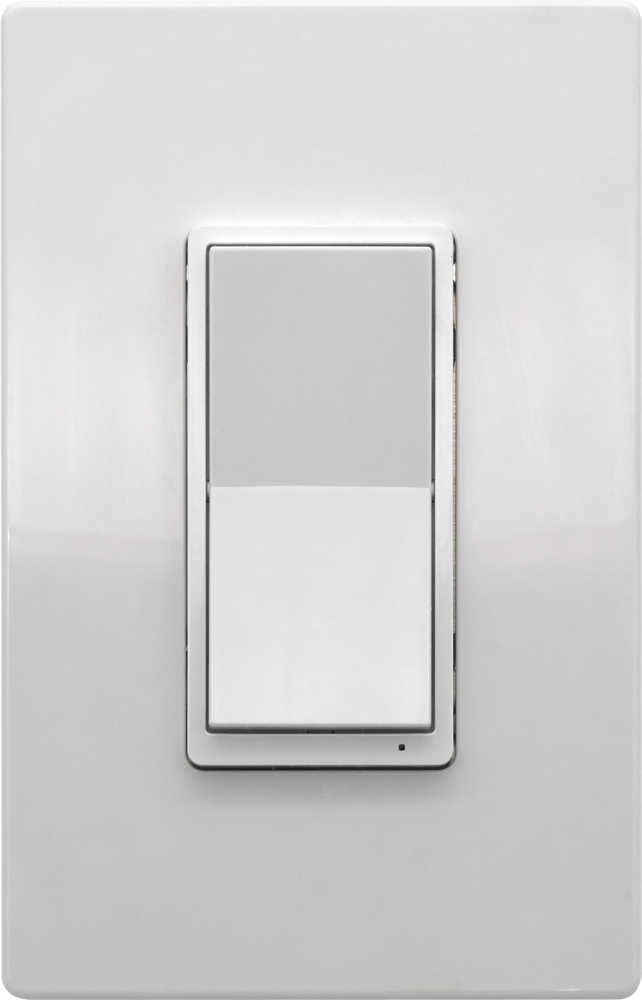
The HomeSeer WS300 Smart Wall Switch is a Z-Wave in-wall switch that provides local and remote control of lighting and other loads. It installs into a standard wall box and works with single-pole or 3-way circuits.
Before You Begin
WARNING: Risk of fire, electrical shock, or burns. Do not use this switch to control devices that could create a hazard if operated remotely or unattended. Do not use with medical or life-support equipment.
CAUTION: To prevent overheating or equipment damage, do not exceed the maximum rated load.
IMPORTANT: Verify that power is off before touching any wiring. If you are unsure about wiring, consult a licensed electrician.
Requirements
-
Neutral wire required
-
120V AC lighting circuit
-
Compatible Z-Wave controller or hub
-
Single-pole or 3-way switch wiring
Tools Needed
-
Flathead screwdriver
-
Phillips screwdriver
-
Wire cutter / stripper
Wiring Overview
The WS300 requires the following connections:
|
Terminal |
Typical Wire Color |
Function |
|---|---|---|
|
LINE |
Black |
Incoming power |
|
LOAD |
Black |
Power to light/device |
|
NEUTRAL |
White |
Neutral wire |
|
GROUND |
Green or bare |
Ground connection |
|
TRAVELER |
Red or other |
Used in 3-way circuits |
Wire colors may vary. Use a multi-meter if necessary to confirm connections.
Installation Steps
If installing into a 3-way circuit, be sure to review the WS300 Wiring Guide first before proceeding! That guide discusses 3-way switch types and typical wiring practices.
-
Turn OFF power at the circuit breaker before installing the switch and verify the power is off.
-
Remove the existing wall plate and mounting screws.
-
Pull the existing switch out of the electrical box.
-
Identify and label the existing wires.
-
Disconnect the wires from the old switch.
-
Strip about 5/8 in (16 mm) of insulation from each wire.
-
Insert each wire into the appropriate WS300 screw terminal and tighten securely.
-
Carefully place the switch back into the electrical box.
-
Attach the wall plate.
-
Restore power at the breaker.
Adding the Switch to a Z-Wave Network
WS300 may be added to your Z-Wave network in two ways. Use the method that works best for your hub and situation.
-
Method 1 (compatible with all Z-Wave hubs)
-
Put your Z-Wave controller into inclusion mode.
-
On the WS300 paddle perform this sequence:
-
Tap DOWN twice, then PRESS & HOLD DOWN (↓↓▼).
The LED indicator will blink magenta during the inclusion process.
-
-
-
Method 2 (SmartStart inclusion)
-
Initiate the SmartStart procedure specific to your hub
-
Scan or manually copy the SmartStart code from the sticker on the switch
-
Add the device to your hub
-
Power the device.
The switch will automatically join the network within a few minutes when powered near the controller.
-
Removing the Switch to a Z-Wave Network
-
Put your Z-Wave controller into exclusion mode.
-
On the WS300 paddle perform this sequence:
-
Tap DOWN twice, then PRESS & HOLD DOWN (↓↓▼).
The LED indicator will blink magenta during the exclusion process.
-
Local Switch Operation
-
Tap top of paddle: Turn load ON
-
Tap bottom of paddle: Turn load OFF
The switch may also be controlled remotely by any compatible Z-Wave hub.
Factory Reset (If Needed)
Use only if the Z-Wave controller is unavailable.
-
Tap UP 3 times, then DOWN 3 times quickly
(↑↑↑↓↓↓) -
If the LED blinks three times, the reset was successful.
Need More Information?
Full documentation and advanced configuration:
-
WS300 Wiring Guide includes common single pole and 3-way wiring diagrams and options.
-
WS300 Features, Specs & Warranty includes indicator LED options, scene control (multi-tap) functions and Z-Wave parameter commands.