Use this guide to get started with your HSM200.
What’s in the Box
-
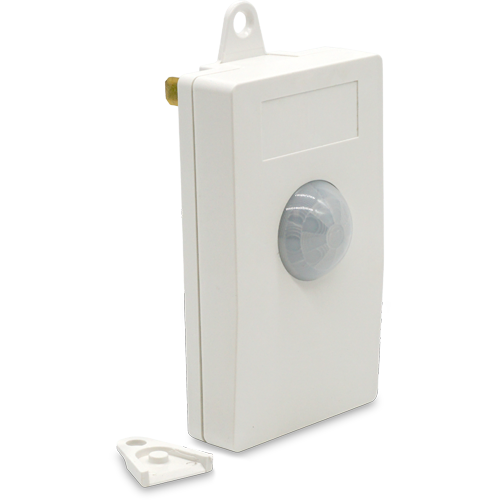
HSM200 Z-Wave multi-sensor
-
Quick reference / documentation card
Setup (universal)
-
Plug In the HSM200
-
Remove the HSM200 from the packaging.
-
Plug the sensor into a standard 120V wall outlet.
-
Once powered, the RGB LED may illuminate briefly depending on its current Z-Wave status.
-
-
Add HSM200 to Your Z-Wave Network
-
Open your hub’s app or interface and place it into Z-Wave inclusion mode.
-
Press the small button located on the side of the HSM200.
-
The LED will blink blue rapidly while inclusion is in progress.
-
Wait for your hub to confirm that the device has been added successfully. After inclusion:
-
The LED will blink white when motion is detected during the 5-minute test mode.
-
After 5 minutes, the sensor will enter normal operating mode and the LED will turn off.
-
Pressing the side button again restarts the motion test mode.
-
-
-
Verify Device Features
-
After inclusion, your hub should display the following features. If some features are missing, check with your hub manufacturer to confirm HSM200 compatibility.
-
Motion sensor
-
Temperature sensor
-
Light / luminance sensor
-
RGB LED control (supported hubs only)
-
-
-
Quick Motion Test
-
Walk within range of the sensor (approximately 12 feet).
-
The LED should blink white when motion is detected.
-
Stop moving and wait for the motion timeout period (default: 10 minutes).
-
Verify that your hub updates the sensor status correctly.
-
SmartStart Setup (Optional)
The HSM200 may also be included into your smart home system using Z-Wave SmartStart.
-
Open your hub’s SmartStart provisioning interface.
-
Scan the QR code located on the back of the HSM200.
-
Plug in the device.
-
The hub should automatically add the sensor within several minutes.
Troubleshooting
Exclude the HSM200
If inclusion fails, perform an exclusion first.
-
Put your hub into Z-Wave exclusion mode.
-
Press the button on the side of the HSM200.
-
Wait for the hub to confirm exclusion.
Factory Reset
Only use this procedure if the original Z-Wave controller is unavailable.
-
Press and hold the side button for 60 seconds.
-
The LED will blink blue, then yellow.
-
When the LED turns off and then blinks cyan, the device has been reset and is ready for inclusion.
Factory reset clears all Z-Wave network information and configuration settings.
Notes
-
The HSM200 is powered directly from a wall outlet and also functions as a Z-Wave repeater.
-
The RGB LED can be controlled by compatible hubs using Z-Wave Color Control commands.
-
Default reporting intervals for temperature and luminance are 60 minutes.
-
Motion timeout and reporting intervals may be customized using Z-Wave parameters.