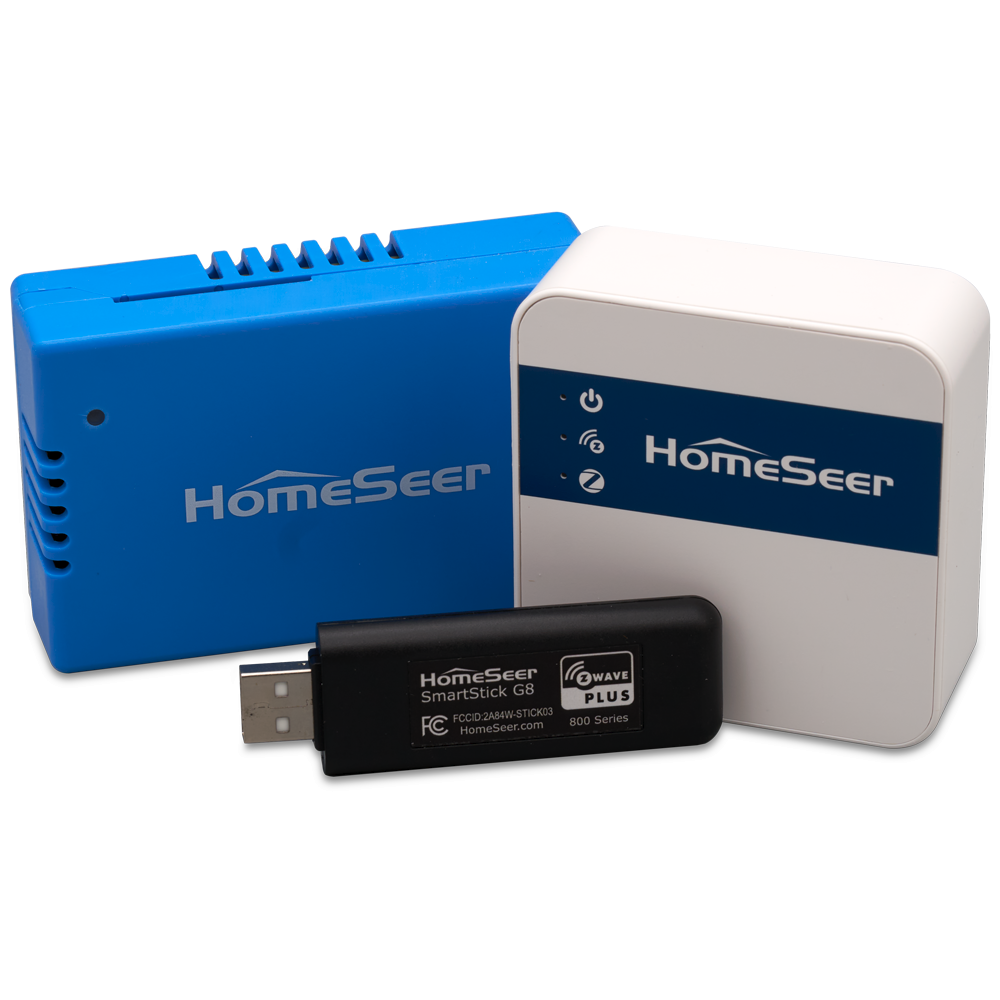
Use this guide for migrating from a 500 or 700 series Z-Wave interface to an 800 series interface (SmartStick G8, Z-NET G8 or Z-NET PRO)
Overview
Users who wish to migrate or upgrade from their existing interface to an 800 series interface can easily accomplish this, but care must be exercised to avoid damaging (“bricking”) the interface. Follow the steps below to ensure the best outcome. Note: The terms “interface” and “controller” refer to the same thing and are used interchangeably.
DO NOT use the Z-Wave PC Controller app OR ANY OTHER METHOD to perform a migration. That may render the 800 series controller unusable and void its warranty.
On a HomeSeer system
The following assumes you’re running HS4 4.2.22.4 or later with the Z-Wave Plus plugin v1.1.9.0 or later. If not, update your system and migrate to Z-Wave Plus first: Migrating from Z-Wave to Z-Wave Plus
-
Back up your existing Z-Wave controller
-
Navigate to Plugins > Z-Wave Plus > Advanced Functions and select Backup Interface. Complete the steps and make a note of the backup file name.
-
-
Enable Z-Wave Plus to display the Z-Wave JS Front-End
-
If you don’t have access to the Z-Wave JS Front-End, navigate to Plugins > Z-Wave Plus > Manage Networks, scroll to the Z-Wave JS Network section and tick the box next to Show ZWave JS Front-End and click SAVE.
-
-
Determine the Z-Wave SDK of your existing Z-Wave controller
-
Navigate to Plugins > Z-Wave Plus > Z-Wave JS Front-End. The first device on the Control Panel page is your Z-Wave controller. This will be device ID 001 and the Z-Wave SDK will appear in the FW column. 👉 If the SDK version is lower than v6.61, follow the procedure in Converting Older Z-Wave Backups for Z-Wave Plus or Z-Wave JS Restore before advancing to the next step.
-
-
Install your new 800 series Z-Wave controller
-
Disconnect your existing Z-Wave controller and connect your new 800 series Z-Wave controller.
-
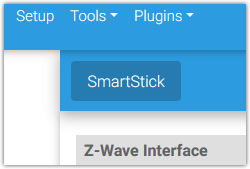
Navigate to Plugins > Z-Wave Plus > Manage Networks. If you only have one Z-Wave network (typical), you’ll be adjusting the settings on this page. If you have multiple networks, select the network you wish to migrate by clicking its name under the navbar. In this example, the network is named “SmartStick”:
-
Click the DISABLE NETWORK button, then reconfigure the Z-Wave Interface settings to connect to the new 800 series interface. Do not click ADD NEW NETWORK.
-
Update the Friendly Name (if desired) under Z-Wave JS Network.
-
Click SAVE to save your changes.
-
-
Restore your Z-Wave network to the new 800 series Z-Wave controller
-
Navigate to Plugins > Z-Wave Plus > Advanced Functions and select Restore Interface. Select the backup created in step 1 above and complete the steps.
-
On a Home Assistant system
Home Assistant has two Z-Wave add-ons, the (official) Z-Wave JS addon, and the community add-on for Z-Wave JS UI. Only the latter supports NVM backup and restore. Users can also run Z-Wave JS UI standalone (e.g. in Docker) as an alternative to using the community add-on, or entirely separate from Home Assistant.
The following assumes you’re running one of these Z-Wave JS UI versions: Standalone Z-Wave JS UI v9.9.0 (or later) or HA Community Add-on v3.4.0 (or later)
-
Back up your existing Z-Wave controller
-
Open the Z-Wave JS UI Control Panel, click the round blue hamburger menu button and select Advanced actions.
-
Find the NVM Management action, click the BACKUP button and click OK to begin the backup. This may take a few minutes to complete. When finished, an NVM_<date>.bin backup file will be generated and saved in your store directory or downloads folder.
-
-
Determine the Z-Wave SDK of your existing Z-Wave controller
-
Access the Z-Wave JS UI Control Panel again and check the SDK version of your Z-Wave controller. This will be device ID 001 and the Z-Wave SDK will appear in the FW column. 👉 If the SDK version is lower than v6.61, follow the procedure in Converting Older Z-Wave Backups for Z-Wave Plus or Z-Wave JS Restore before advancing to the next step.
-
-
Install your new 800 series Z-Wave controller
-
Disconnect your existing Z-Wave controller and connect your new 800 series Z-Wave controller.
-
Configure its path in the Z-Wave JS UI settings.
-
-
Restore your Z-Wave network to the new 800 series Z-Wave controller
-
Open the NVM Management action again, click the RESTORE button, select the NVM_<date>.bin backup file you created in Step 3 and click OK. This will initiate the restore process. A notification will appear when the process is complete. If the migration was successful, you should now be able to monitor and control your Z-Wave devices.
-
These instructions may change over time. Be sure to check the official Home Assistant documentation for the most up to date information.